Make your own photo album
Creating your own photo album is a great way to preserve your memories in a unique and personal way. In this tutorial, we will introduce some professional bookbinding techniques that you can use at home to create your own unique album.
What will you need?
Preparing the right materials and tools is key to creating a beautiful album. Here's a list of things you might need:
- Cardboard for the cover
- Paper for album pages
- Cover material, e.g. fabric, eco-leather
- Cardboard for the back of the album
- Bookbinding glue
- Scissors or scalpel
- Metal ruler
- Pencil
- Eraser
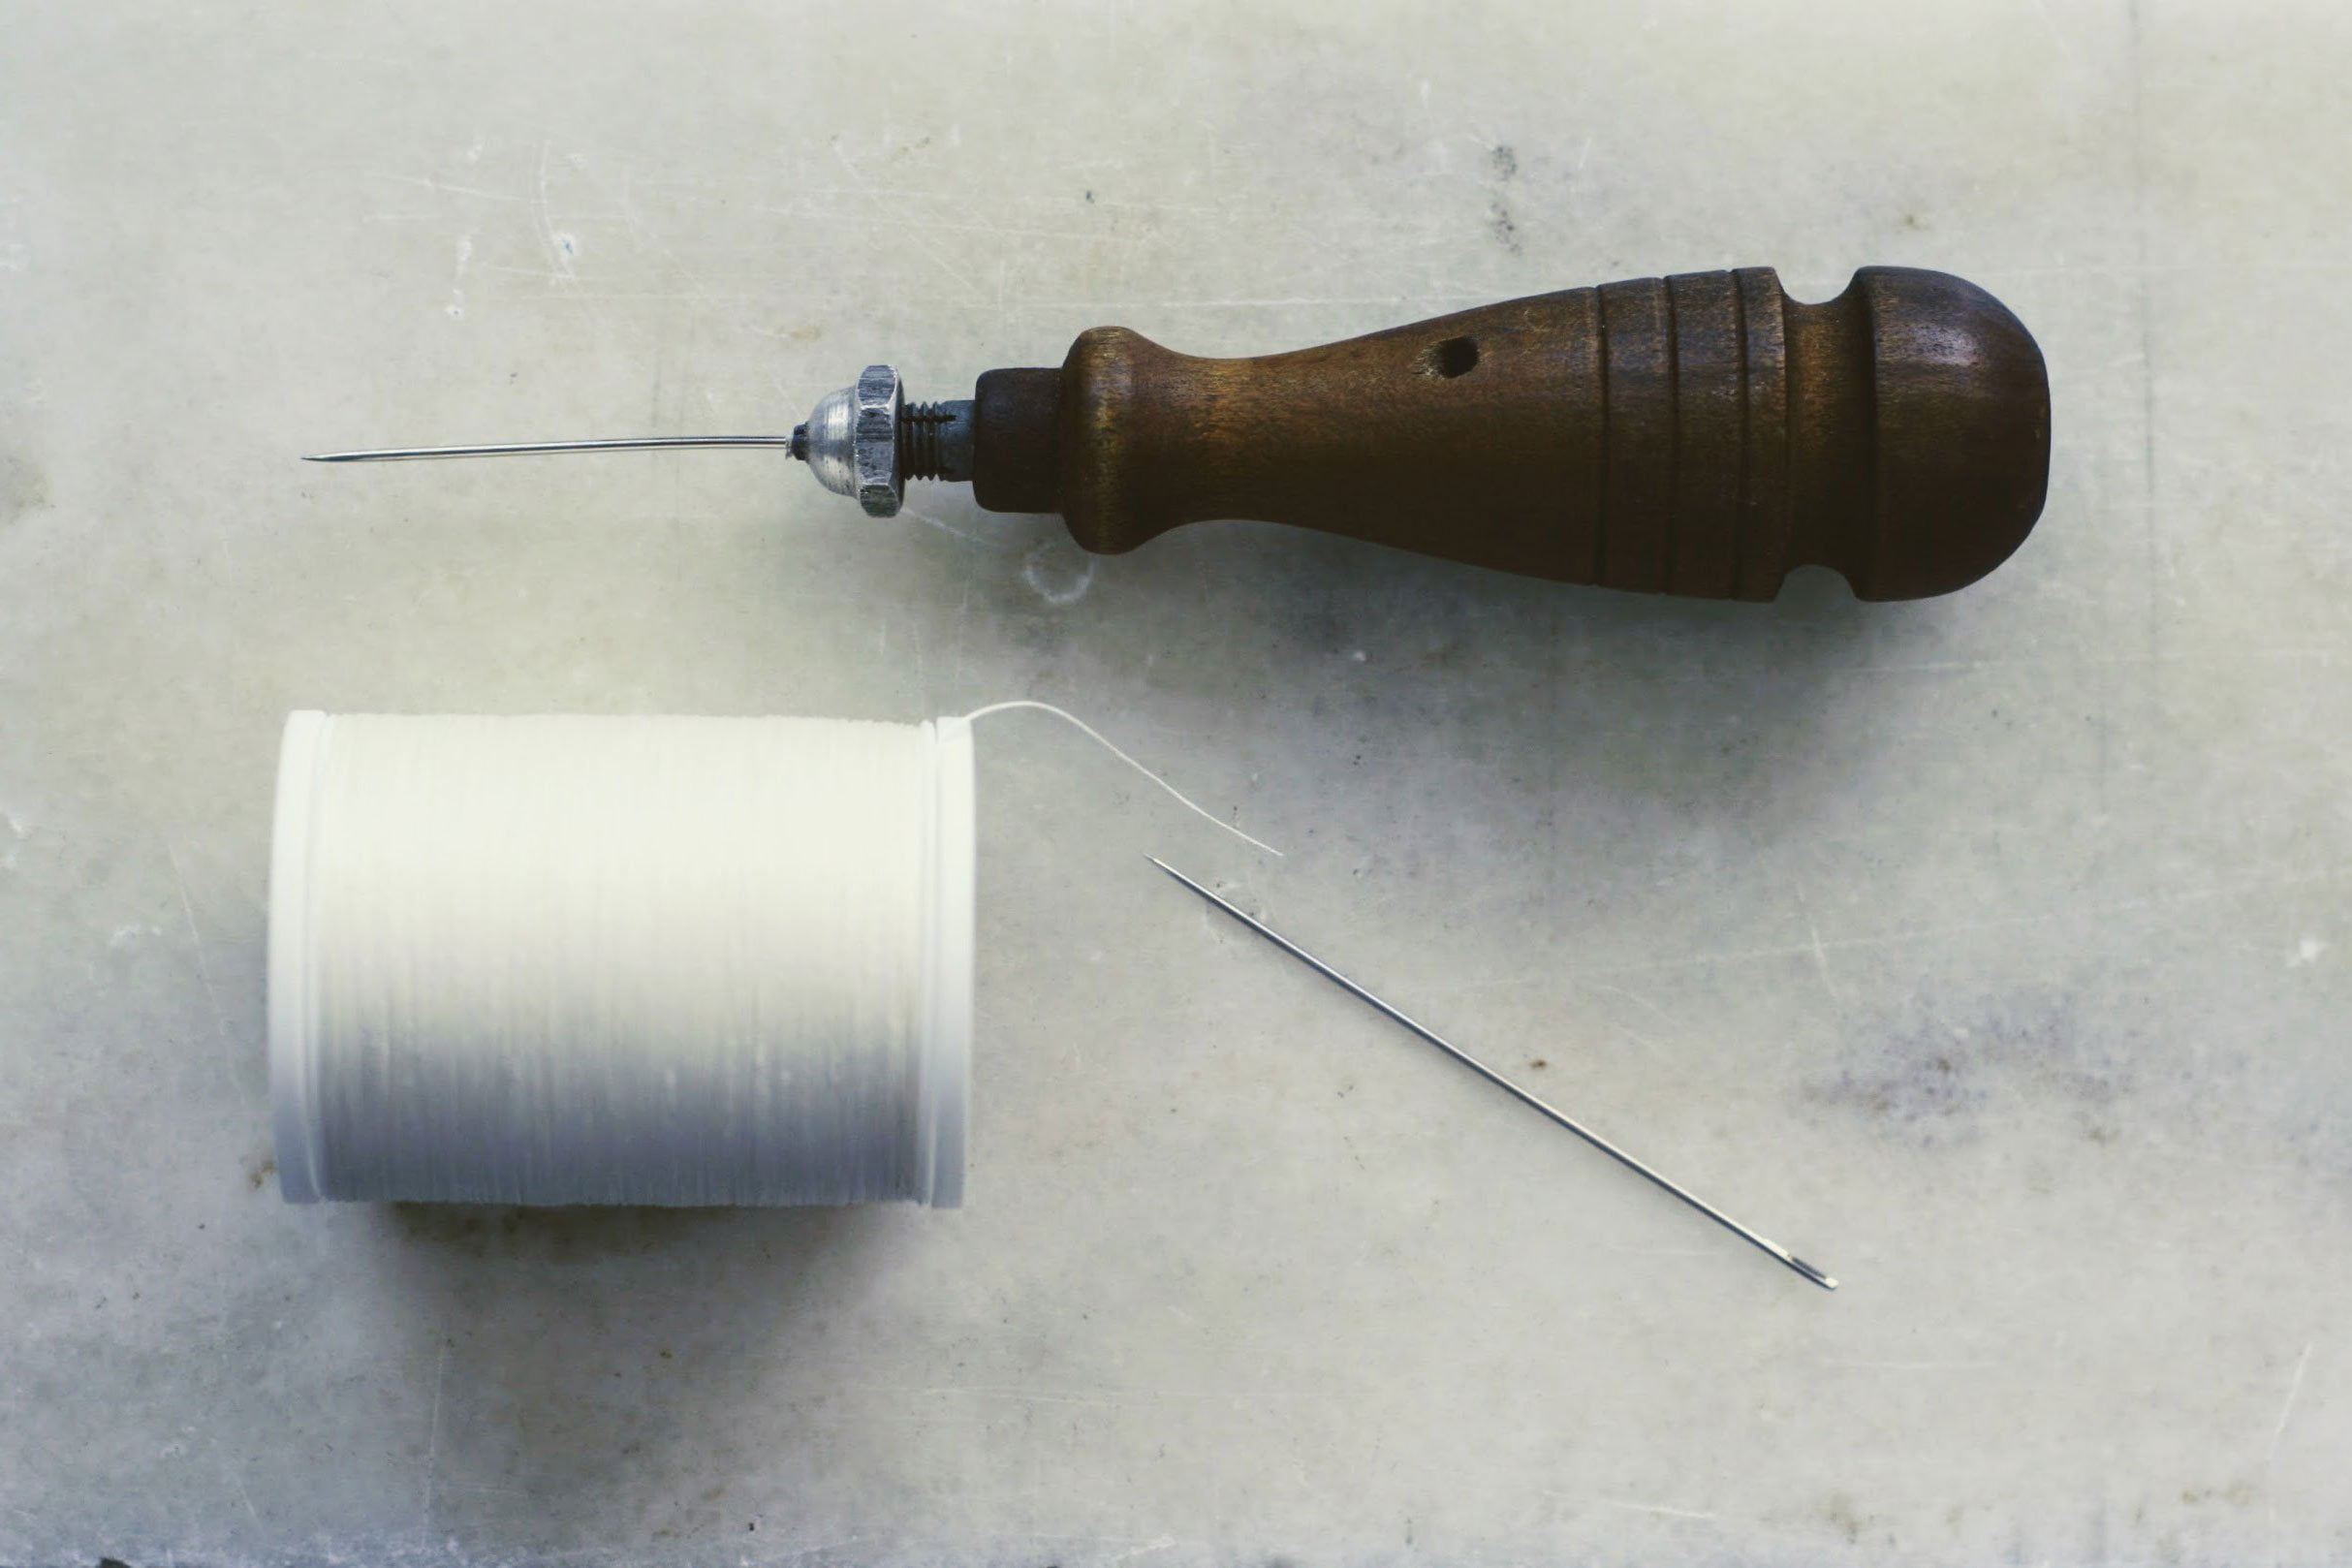
- Bookbinding pin or sewing needle
- Cotton or linen threads
Cover preparation
- Cut out two rectangles from cardboard the size of your album.
- Cut out a rectangle from the cover material that is large enough to cover the cardboard with a margin around the edges.
- Apply bookbinding glue to the cardboard and place it on the cover material, leaving a margin around the cardboard.
- Cut cardboard for the back of the album of the correct width and height, then glue it to the cover material, leaving a gap between the back and covers.
Preparation of album pages
- Cut out enough pages from the paper to fit the cover.
- Fold the sheets in half to form 'rolls' of pages.
- Make sure the coils are evenly folded and the edges are straight and even.
Sewing of pages to the spine
- Prepare a bookbinding pin or sewing needle and thread.
- Sew the rolls of pages together, starting from the centre of each roll and going all the way through.
- Attach the stitched scrolls to the back of the album, trying to keep an even distance between them.
Joining cover to spine and pages
- Apply bookbinding glue to the inside of the album spine and to the inside edges of the cover.
- Carefully apply the stitched page rolls to the spine, making sure they are evenly spaced and fit snugly.
- Then press the covers against the spine and scrolls so that they stick together well. Be careful not to spread the glue on the album pages.
Album finishing
- Allow the album to dry for a few hours, preferably with weights on the cover to ensure even pressure and better gluing.
- Once the glue has dried, check that all the album pieces are properly joined and firmly attached.
- If you wish, you can add additional decorations on the cover, such as ribbons, appliqués or lettering.
Congratulations! You have just finished creating your own unique photo album. Now you can enjoy the process of putting your photos in an album and reviewing the memories of the most important moments in your life.
#album photo album #intaglio #DIY #Booklet #Booklet #Pages #Back #glue #stitching

